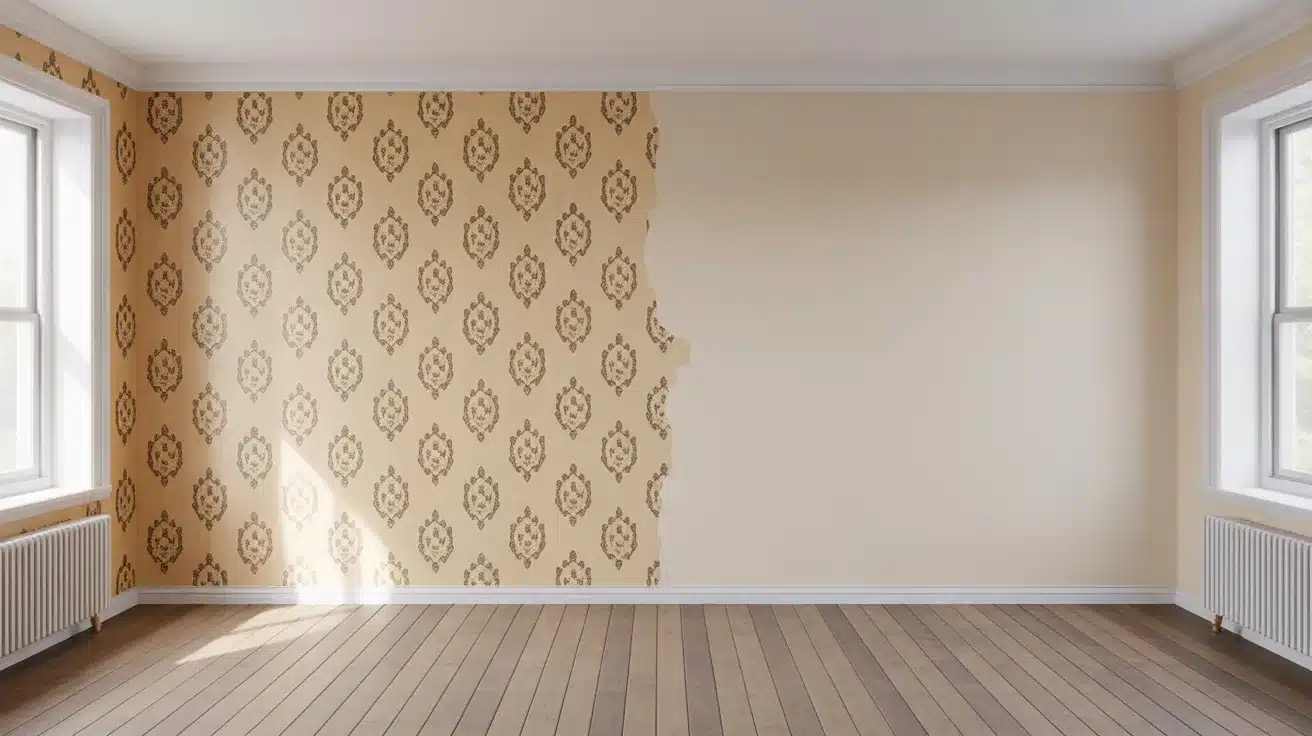
Wallpaper looked great once, but now it’s time to let it go.
Whether it’s peeling at the edges, stuck in a decade long past, or simply not your style anymore, removing it feels like a project nobody really wants to start.
The good news? It’s completely doable on your own.
You don’t need to hire anyone or stress about damaging your walls. You just need the right approach. This guide walks you through everything: the tools, the steps, the common mistakes, and what to do once the walls are finally bare.
Take it one step at a time, and you’ll get through it cleaner and faster than you’d expect.
What You Need to Know Before Removing Wallpaper?
Before you grab a scraper and start tearing things apart, it helps to understand what you’re working with.
Types of Wallpaper
Wallpaper generally comes in three types:
- Vinyl: The most common in modern homes and usually the easiest to remove.
- Peel-and-Stick: Newer and designed to come off with minimal effort.
- Traditional Paper: The trickiest type, especially older versions, because of how strongly it bonds to the wall over time.
Why Removal Methods Differ?
The right method depends on the adhesive and material used. What works on vinyl might damage a traditional paper-covered wall. Knowing your wallpaper type upfront saves you a lot of trial-and-error.
Test a Small Section First
Before committing to full removal, test a hidden corner. This tells you how the wallpaper reacts to moisture and how much effort the rest of the wall will take.
How Long Does It Take?
Most rooms take anywhere from a few hours to a full weekend. The key factors are:
- Size of the wall
- Age of the wallpaper
- Strength of the adhesive bond
How to Remove Wallpaper Step by Step?

Having the right tools on hand makes the whole process smoother and saves you multiple trips to the hardware store.
| Tool/Material | Purpose |
|---|---|
| Putty Knife | Scrapes loosened the wallpaper off the wall |
| Spray Bottle | Applies water or solution to soften adhesive |
| Sponge and Bucket | Helps wet larger sections evenly |
| Wallpaper Steamer | Loosens stubborn or old wallpaper with steam |
| Scoring Tool | Perforates the surface so moisture can penetrate |
| Adhesive Remover | Breaks down leftover glue after the paper is peeled |
Gather everything before you start. Once you’re mid-removal, you don’t want to stop and search for supplies. Knowing the right order of steps is half the battle. Here’s how to do it properly, without damaging your walls.
Step 1: Prepare the Room
- Move furniture away from the walls or cover it with drop cloths.
- Turn off electrical outlets on the walls you’ll be working on. Water and electricity don’t mix.
- Keep the room well-ventilated, especially if you’re using adhesive remover solutions.
Good prep saves you from messy surprises later.
Step 2: Protect Floors and Remove Covers
Lay drop cloths or old sheets along the base of the walls to catch wet paper scraps. Remove outlet covers and switch plates before you begin. This keeps them clean and makes it easier to work close to the edges.
Step 3: Score the Wallpaper Surface
Use a scoring tool and run it lightly across the wallpaper in circular motions. This creates small perforations that allow moisture to soak through to the adhesive beneath. Don’t press too hard. You want to score the paper, not the wall behind it.
Step 4: Apply Moisture or Steam
- Fill your spray bottle with warm water or a wallpaper removal solution.
- Spray a section generously and let it sit for 2 to 3 minutes.
- For thicker or older wallpaper, a wallpaper steamer works much better than a spray bottle.
Work in small sections so the moisture doesn’t dry out before you peel.
Step 5: Peel and Scrape the Wallpaper
Start peeling from a corner or seam. Pull slowly at a low angle to reduce the chance of tearing the drywall underneath. Where it resists, use a putty knife to gently lift the edges. Reapply moisture if a section starts to dry out.
Step 6: Remove Remaining Adhesive
Once the paper is off, you’ll likely notice a sticky film left behind. Apply adhesive remover or a fabric softener-and-water solution to the wall. Let it soak, then wipe it away with a sponge. Rinse the wall with clean water afterward.
Step 7: Clean and Dry the Walls
- Wipe the entire wall down with a clean, damp sponge.
- Let the walls dry completely, ideally 24 to 48 hours, before painting or priming.
- Check for any missed patches of glue once dry, as they show up more clearly on a clean wall.
Video Tutorial
Special thanks to BYOT for providing valuable insights in their video, which I referenced while creating this guide.
Best Methods Based on Wallpaper Type
Not all wallpaper comes off the same way. Here’s how to adjust your approach depending on what’s on your walls.
Removing Peel-and-Stick Wallpaper
- Start at a corner and peel back slowly at a 45-degree angle.
- No water or tools are usually needed. It’s designed to come off cleanly.
- If residue remains, a little warm water or rubbing alcohol on a cloth will handle it.
- Works best at room temperature. Cold conditions can make it tear.
Removing Traditional Glued Wallpaper
- Score the surface thoroughly before applying any moisture.
- Use a wallpaper removal solution mixed with warm water for best results.
- Work in small sections and give the solution time to penetrate.
- Older adhesive can be stubborn, so expect more effort here.
Removing Vinyl Wallpaper
- Vinyl often has two layers: a top layer of vinyl and a paper backing.
- Remove the top vinyl layer first by peeling it dry from a seam.
- Soak the remaining paper backing with water or solution, then scrape it off.
- Score the backing before wetting it for faster penetration.
Handling Old or Stubborn Wallpaper
- A steamer is your best tool here, as it delivers heat and moisture into layers simultaneously.
- Apply multiple rounds of moisture if the first pass doesn’t loosen it.
- Patience works better than force.
- If the wallpaper was applied directly on unprimed drywall, proceed with extra care to avoid surface damage.
Common Wallpaper Removal Problems and How to Fix Them

Even when you follow every step, things don’t always go smoothly. Here’s what to do when you hit a snag.
Wallpaper Won’t Come Off
Problem: The paper barely budges even after scoring and soaking.
Fix: Let the moisture sit longer, at least 5 minutes. Switch to a steamer if a spray bottle isn’t cutting it. Older adhesives sometimes need more heat and time to release.
Drywall Damage During Removal
Problem: The drywall paper tears or pulls away with the wallpaper.
Fix: Re-wet the area before continuing. If damage has already occurred, let the wall dry fully, then use joint compound to fill and smooth the torn spots before priming.
Sticky Residue Left Behind
Problem: A tacky film remains on the wall after the paper is removed.
Fix: Apply a mix of fabric softener and warm water, let it sit, then scrub with a sponge. Rinse thoroughly to remove any residue before painting.
Moisture or Mold Issues
Problem: You notice mold on the wall or behind the paper during removal.
Fix: Stop immediately. Let the area dry, then treat visible mold with a diluted bleach solution or a commercial mold remover. For widespread mold, call in a professional before proceeding.
Mistakes to Avoid When Removing Wallpaper
A little awareness goes a long way. These are the most common slip-ups people make, and they’re all easy to avoid.
- Skipping the scoring step. Without perforation, moisture can’t reach the adhesive. The paper will resist no matter how much water you apply.
- Using too little moisture. Under-soaking is the number one reason wallpaper won’t come off cleanly. Be generous and patient with your spray or steamer.
- Rushing the process. Letting moisture sit is not optional. Pulling too soon tears both the wallpaper and the wall beneath it.
- Damaging the drywall. Pressing too hard with a putty knife can gouge the surface. Use light, controlled strokes and let the moisture do the heavy lifting.
- Ignoring test patches. Jumping straight into full removal without testing a small section first often leads to surprises, especially with older walls or multiple layers of paper.
What to Do After Removing Wallpaper?
Removing the wallpaper is only part of the job. What you do next determines how good your walls will look in the end.
1. Repairing Wall Damage: Check the entire wall for gouges, tears, or indentations. Fill any damaged spots with joint compound using a putty knife. For more serious damage, apply two thin coats instead of one thick coat, as they dry more evenly.
2. Sanding and Smoothing: Once the compound is dry, sand the repaired areas lightly with fine-grit sandpaper until the surface feels flat and smooth. Wipe away all dust with a damp cloth before moving on.
3. Applying Primer: Primer is non-negotiable after wallpaper removal. It seals the wall, covers any remaining stains, and gives paint something solid to grip. Use a PVA-based primer or a drywall primer, and let it dry fully before painting.
4. Preparing for Paint: Do a final check by running your hand across the wall and looking at it in good light. Touch up any uneven spots, re-sand if needed, and you’re ready to paint. A well-prepped wall means a cleaner, longer-lasting finish.
Final Thoughts
Removing wallpaper isn’t the most glamorous job, but finishing it feels genuinely satisfying. You’ve cleared out the old and made room for something fresh. The key is patience. Score properly, let the moisture do its work, and don’t skip the prep. Once your walls are clean, smooth, and primed, you’re looking at a blank canvas ready for whatever comes next. Paint it, panel it, or leave it clean. The choice is yours. If this guide helped you out, share it with someone else staring at an outdated wall. And if you have questions, drop them in the comments. We’re happy to help.
