
Building your own outdoor storage shed is one of those projects that sounds way more intimidating than it actually is. You can join the 56% of Americans who plan on some kind of home improvement work this year while enjoying the satisfaction of having a custom storage solution that perfectly fits your needs.
Plus, this is a great way to save a decent chunk of change compared to buying a pre-built shed or hiring someone to do it for you.
Getting started by planning your project
Before you even think about picking up a hammer, you must figure out what you’re building. Are you just looking for somewhere to stash your lawn mower and garden tools, or do you need a proper workshop space where you can tinker around on weekends? This matters because it’ll determine everything from the size you need to whether you’ll want windows for natural light.
Once you know what you’re building, it’s time to pick a spot. You want level ground if possible, as building on a slope is doable, but it’s going to make your life a lot harder. It is also important to think about drainage. That low spot in your yard where water collects after every rainstorm is not where you want your shed.
Important note: Check with your local building department about permits. Having to tear down your finished shed because you didn’t pull the right permits is no fun. Most regions have size limits where you don’t need permits (often around 100-120 square feet), but the rules vary.
Building your foundation
A solid foundation is absolutely crucial, even for a small shed. The simplest option is putting your shed on skids (pressure-treated 4×6 or 6×6 beams laid right on a bed of gravel). It’s cheap and works great for smaller sheds on level ground.
You can also use concrete deck blocks. Set the pre-cast blocks on a leveled gravel base, then build your floor frame on top of them. This gets your shed up off the ground, which is fantastic for keeping moisture away from your floor joists.
If you’re going all-out or building something larger, a concrete slab is the gold standard. It’s more expensive and labor-intensive, but you can’t beat it for durability.
Framing things up
Building the frame is pretty straightforward once your foundation is solid and level. You’ll be working with standard 2×4 lumber for almost everything. Start by building your floor frame (if you’re not going with a concrete slab), which you can think of as a big rectangle with support joists running across it every 16 inches.
The walls come next. Build them flat on your shed floor, then tip them up into place. It’s so much easier to nail everything together when you’re not working over your head. Make sure you square everything up before you move on, measure corner to corner diagonally, and adjust until both measurements match.
For the roof, you can either build simple trusses (those triangular supports) or go with a traditional rafter system. Trusses are probably easier, as you can build them all the same and just lift them into place.
The all-important matter of shed flooring
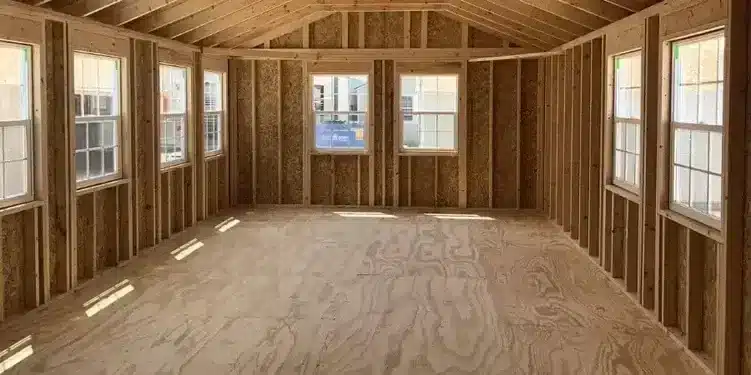
Your flooring choice really depends on what you’re planning to use the shed for. For the subfloor (the structural layer that sits on your floor joists), you want either 3/4-inch pressure-treated plywood or a high-quality OSB. Regular OSB might save you a few bucks, but it doesn’t handle moisture well, and moisture is the enemy of shed floors everywhere.
Now, for what you’ll actually walk on, you’ve got options. If this is just basic storage, that plywood subfloor with a coat of good porch paint might be all you need. But if you’re planning to spend time in there or store valuable stuff, consider upgrading.
Note: If you live somewhere with real winters and plan to use your shed year-round, insulating that floor makes a huge difference. Rigid foam insulation between the floor joists will keep the cold from creeping up through the floor.
Closing everything in
Getting your shed weatherproofed is where attention to detail really pays off. Your roof is your first line of defense, so don’t cheap out on the shingles or skip the underlayment. Install drip edge to keep water away from your wood.
For siding, T-111 siding is popular because it’s structural sheathing and siding all in one. Vinyl is low-maintenance, and traditional wood siding looks great but needs more upkeep. All of these options will do the trick; it just comes down to how much work you are willing to put in.
Don’t forget about ventilation! Even a simple shed needs some air movement to prevent moisture problems. A couple of vents (one low, one high) will keep air moving and prevent that musty smell that plagues poorly ventilated sheds.
Find your next DIY adventure
DIY work around the home (when done right) is an excellent family activity that will pay dividends for many years to come. Once you’ve finished this project and your new shed is looking great, find your next DIY project at Mothers Always Right, and let’s make your home an even more enjoyable and functional space!
