
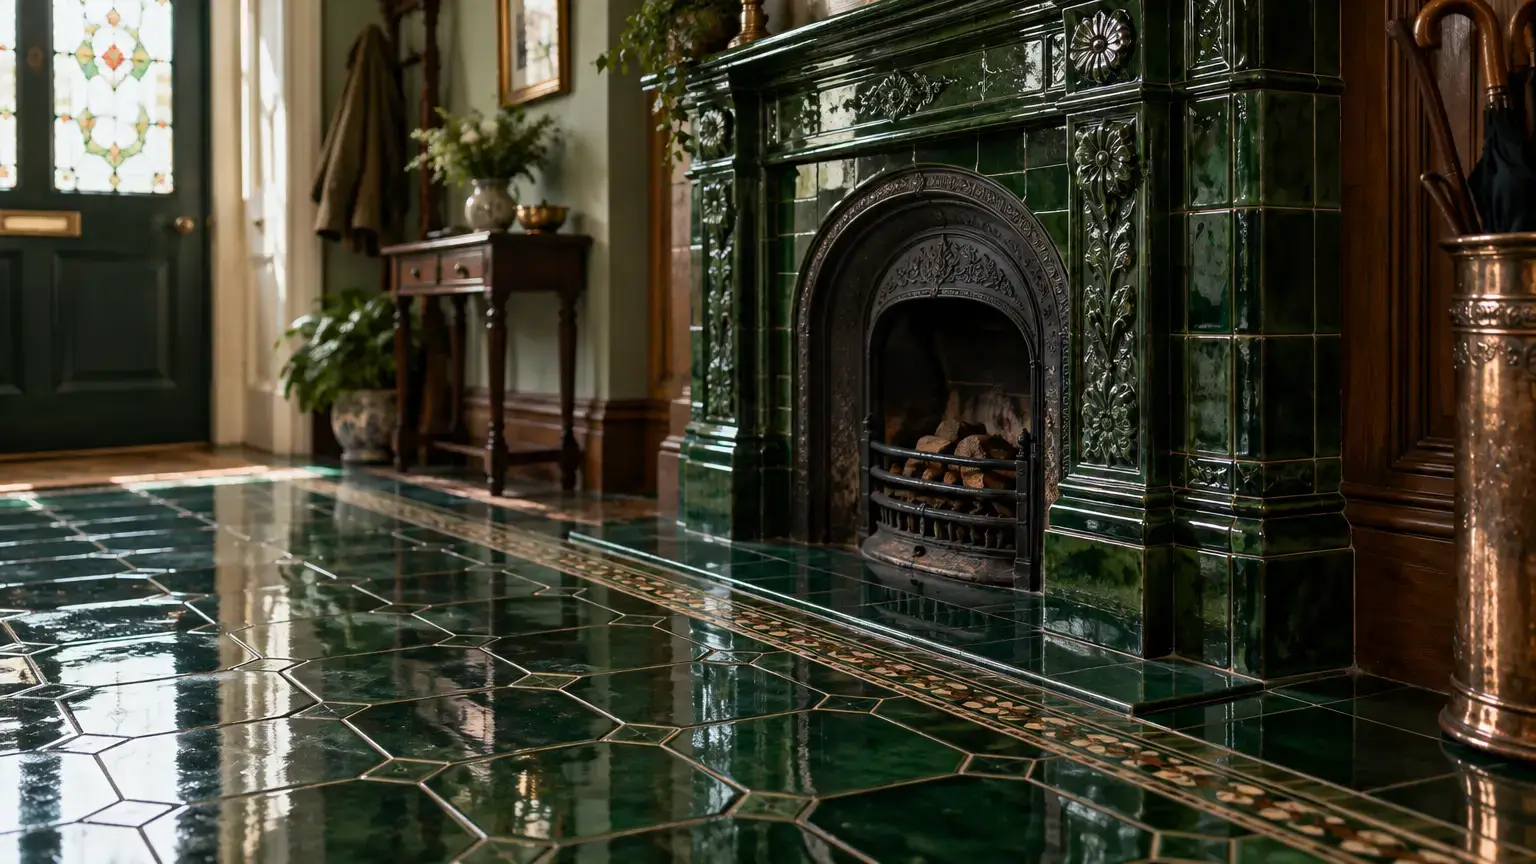
Standing in a late-19th-century hallway, you notice the deep, glossy green tiles framing a vintage fireplace or lining the vestibule floor. These rich architectural details are not just decorative—they are a signature of Victorian-era design, carefully chosen for their ability to convey status, taste, and craftsmanship. For homeowners restoring a historic property, specifying the right shade, finish, and production method for these tiles is essential to maintain both authenticity and value. Understanding what defines true Victorian Dark Green Tiles, and how to select them for historic restoration, ensures your project reflects the era’s charm while meeting practical needs for durability and heritage compliance.
Historical Context of Dark Green Ceramic Tiles in Victorian Architecture
Victorian Dark Green Tiles emerged as a hallmark of the period’s architectural vocabulary, frequently found in entryways, hearths, and wall panels. The deep, saturated green was favored because it complemented the ornate woodwork and intricate wallpaper patterns popular at the time. Notably, these tiles were often used in public-facing spaces, as their high-gloss glaze and rich color conveyed sophistication and modernity.
Original examples from the late 1800s often reveal subtle variations in tone due to hand-mixed glazes and firing techniques. Period photographs and preserved interiors demonstrate that dark green ceramic was chosen both for aesthetic reasons and for its practical ability to conceal soot and dirt—an important consideration in coal-heated homes. Researching Victorian tile design history provides homeowners with valuable context for making informed restoration decisions.
When identifying original tiles in your property, look for evidence of age such as crazing (fine crackling in the glaze), irregular edges, and the presence of traditional clay bodies. These clues help distinguish original Victorian pieces from later reproductions or replacements.
Material Specifications and Glaze Characteristics for Period Accuracy
Achieving period accuracy means matching not only color but also the composition and finish of historic tiles. Victorian Dark Green Tiles were typically made from earthenware clay, fired at lower temperatures than modern porcelain. The glaze was formulated from lead-based compounds, resulting in a lustrous, almost mirror-like surface. Today, lead-free formulas can replicate this look while meeting modern safety requirements.
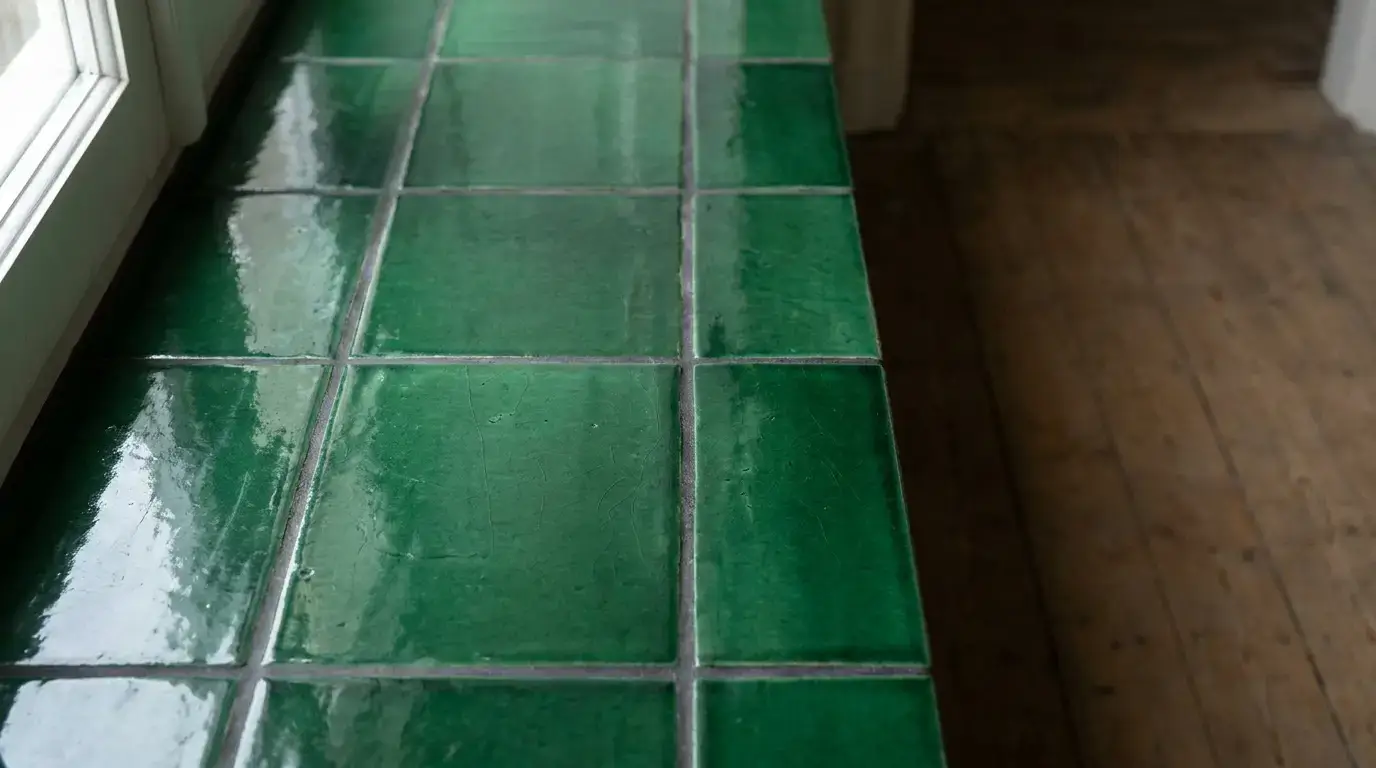
For a faithful restoration, select products with a thickness of 8–10 mm, a hand-finished edge, and a deep emerald or bottle-green glaze. The surface should be highly reflective but slightly uneven, capturing the character of kiln-fired craftsmanship. Choosing Dark Green Tiles with these specifications helps integrate replacements seamlessly into original Victorian interiors.
Careful attention to glaze color is critical—Victorian glazes often have a subtle blue or brown undertone, which distinguishes them from uniform modern greens. Sampling tiles in natural and artificial light can reveal these nuances and help ensure a cohesive result with existing historic elements.
Sourcing Authentic Manufacturers and Reproduction Tile Makers
Finding the right supplier is key when seeking tiles for historic restoration. Some manufacturers specialize in reproducing period-accurate products, using molds taken from original Victorian examples and glazes formulated to mimic hand-mixed finishes. These makers often provide provenance information and product samples to verify authenticity.
Before purchasing, request detailed specifications regarding clay body, glaze composition, and firing methods. Many reputable tile makers offer custom runs to match rare or unusual shades observed in heritage properties. Studying best practices for sourcing historic building materials helps ensure your supplier meets both conservation and design criteria.
For larger restoration projects, consider visiting architectural salvage yards or antique dealers specializing in reclaimed building materials. These sources may offer original tiles with the wear and patina that only age can provide, which can be especially valuable for visible, high-traffic areas.
Installation Techniques and Mortar Joint Requirements for Heritage Properties
Proper installation is as important as selecting the right tile. Victorian tilework traditionally featured narrow mortar joints—often less than 3 mm—using lime-based mortar rather than modern cement-based adhesives. Lime mortar is softer and more flexible, allowing for subtle movement in older substrates without cracking the tiles.
Recreating the original grout lines and laying patterns is essential for maintaining historical accuracy. Installers should carefully align each tile to replicate the tight, uniform joints seen in surviving Victorian interiors. Using period-appropriate mortar also helps avoid incompatibility issues, such as efflorescence or spalling, which can occur with modern materials on old walls or floors.
For listed or landmarked properties, consult local heritage authorities before beginning work. Some jurisdictions require adherence to conservation standards, including using traditional installation methods and materials, to preserve the property’s protected status.
Conclusion
Start your restoration by examining surviving tiles and matching their color, glaze, and installation method as closely as possible. Prioritize suppliers with proven expertise in Victorian reproductions and confirm all materials comply with heritage requirements. Thoughtful attention to these details ensures your restored spaces honor both the history and beauty of your period home.
